

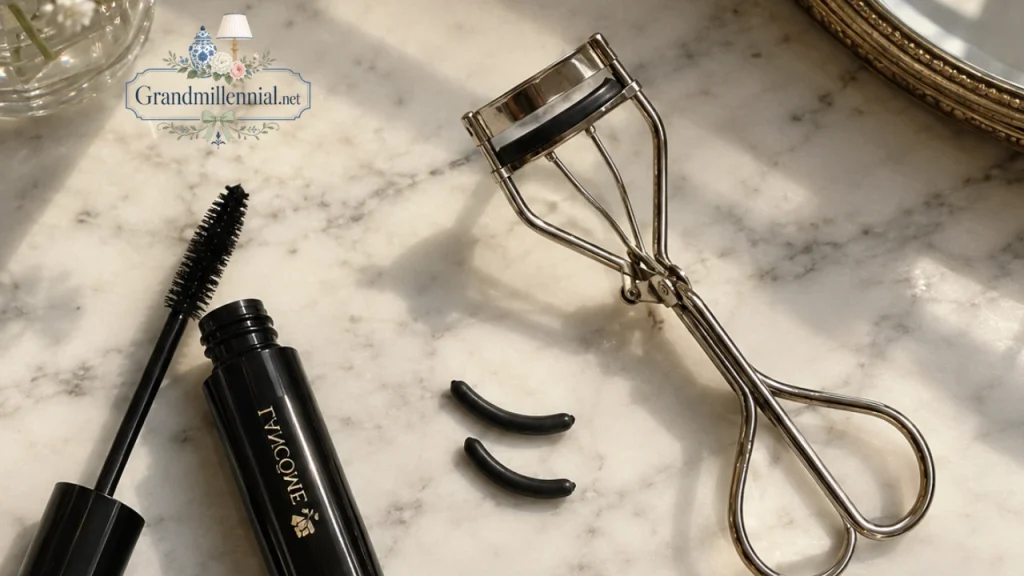
Most people have a version of this story. You clamp down, feel a sharp nip on your eyelid, and open your eyes to lashes bent at a strange right angle.
Or the curl looks lovely at 8 a.m. and has quietly flattened by 10.
It’s tempting to blame your lashes. Usually the real culprit is a curler that doesn’t fit your eye, a worn pad, or a couple of small technique habits. All three are easy to fix.
Quick answer: Start with clean, dry, mascara-free lashes. Open the curler, set it as close to the lash root as you can without catching skin, and squeeze gently for a few seconds. Pulse two or three times while easing outward, then apply mascara.
Why the right curler matters more than technique
An eyelash curler works by pressing your lashes between a curved metal frame and a soft pad. The curve of that frame is the whole game.
If the frame’s curve is flatter than your lash line, the middle lashes get caught and the outer corners are missed. If it’s more rounded than your lash line, the edges dig into your lid while the centre barely lifts.
That’s why two people can use the same cult-favourite curler and have opposite experiences. The tool isn’t good or bad in general. It fits one eye shape well and others poorly.
The 10-second fit test
You can check whether an eyelash curler fits in a mirror, ideally before you buy or right after a new one arrives.
Open the curler and hold it up to your closed eye, with the frame resting just at the lash line, without squeezing. Look at the gap between the frame and your lid along the whole width.
A good fit sits evenly from inner to outer corner, with no part pressing into skin and no long stretch hovering away from the lashes. If the ends dig in, the curve is too round for you. If the middle touches but the ends float, it’s too flat.
Check the width too. The frame should span most of your lash line. A frame wider than your eye tends to pinch the outer corner skin.
Which curler suits your eye shape?
There’s no perfect curler for everyone, but certain shapes pair naturally with certain styles. Use this as a starting point, then confirm with the fit test.
| Eye shape | What usually works | Why |
|---|---|---|
| Almond | Standard curve, standard width | Most mainstream curlers are designed around this profile |
| Round | More rounded curve | Matches a curved lash line and reaches inner and outer lashes |
| Hooded | Slim-profile frame, or a partial curler | Less frame means less lid skin caught under the fold |
| Deep-set | Standard or slightly flatter curve, slim frame | Easier to get close to the root without bumping the brow bone |
| Monolid / flatter lash line | Flatter, wider curve | Meets lashes evenly across a straighter line |
| Small or narrow eyes | Narrower frame or partial curler | Avoids pinching the outer corner |
A partial (mini) curler is worth owning whatever your shape. It handles stubborn outer-corner lashes and gives you more control on hooded or small eyes.
Manual, heated or partial?
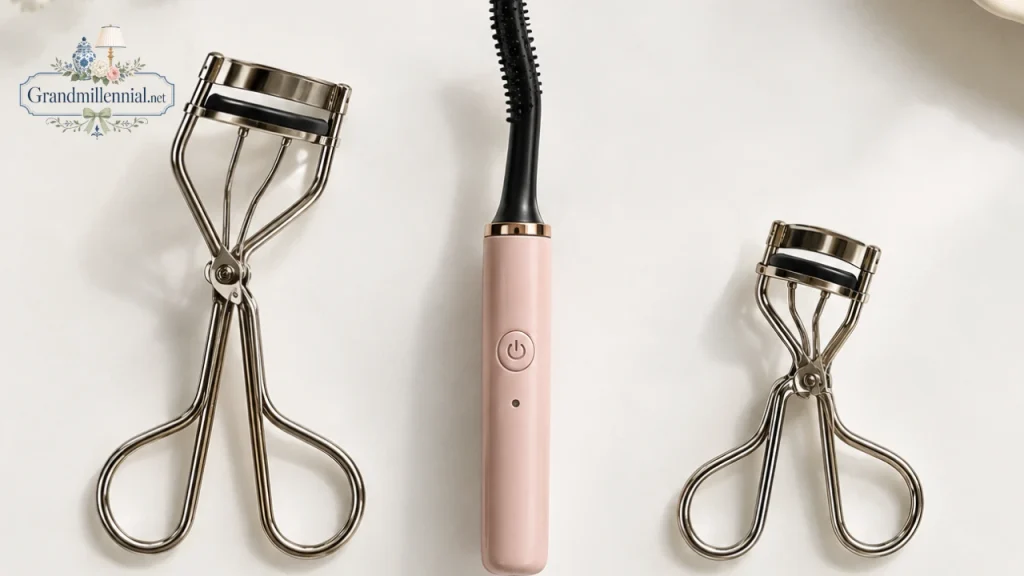
Each type does a slightly different job, and plenty of people end up using two.
Manual clamp curlers are the classic choice. They give the most lift, cost little, need no batteries, and are the best place for a beginner to start.
Heated curlers look like a small wand or a comb with a warm element. They’re designed to be used on lashes after mascara has dried, gently setting the curl, so they’re handy for straight lashes that refuse to hold.
With heat this close to the eye, start on the lowest setting and test the warmth on the back of your hand first. Avoid them entirely on irritated eyes.
Partial curlers are short, narrow versions of the classic clamp. They’re for precision: outer corners, inner corners, and any lashes the full-size curler misses.
One thing to skip: warming a metal curler with a hair dryer. Several makeup artists advise against it, because you can’t control how hot the metal gets before it touches your lid.
How to use an eyelash curler, step by step
Good technique with a well-fitting eyelash curler takes about 30 seconds per eye. Go slowly the first few times; speed comes on its own.
Start with clean, dry lashes
Remove yesterday’s mascara and any eye cream residue. Oils make lashes slippery and the curl won’t hold, and stiff mascara makes lashes more likely to bend sharply or break.
Check the pad and frame
Glance at the rubber or silicone pad. If it has a deep groove or a split, replace it before you start; a worn pad is the most common cause of crimping.
Position at the root
Look down into a mirror held slightly below eye level, which keeps your eye open while exposing the lash line. Open the curler, slide your lashes through, and bring the frame as close to the root as you can without touching skin.
Squeeze gently and hold
Close the curler with light, steady pressure, then hold for about five seconds. It should feel firm, never painful. If you feel a pinch, release immediately and reposition.
Pulse and walk it out
Release, move the curler a few millimeters toward the lash tips, and squeeze again for a couple of seconds. One or two more pulses mid-lash creates a soft, natural curve rather than a single sharp bend.
Don’t tug or pull outward while the curler is closed. That’s how lashes get pulled out.
Finish the corners
Tilt the curler slightly toward your nose for inner lashes and toward your temple for outer ones. A partial curler makes this much easier.
Apply mascara straight away
Mascara locks the curl in place. Wiggle the wand at the roots, then sweep upward toward the tips.
Mascara: before or after?
Curl first, then mascara. It’s the most common question about using an eyelash curler, and the reasoning is simple.
Curling over wet mascara can glue lashes to the pad, so they get pulled as the curler opens. Curling over dried mascara bends stiff lashes sharply, which encourages crimps and breakage.
The exception is a heated curler, which is designed to go over mascara that has fully dried.
To help the curl last, choose a lighter formula. Heavy, wet mascaras weigh lashes down, while waterproof and tubing formulas generally hold a curl longer. A lash primer underneath can also help.
Fixing the most common curler problems
Most frustration comes down to a handful of problems, and each has a clear cause.
It pinches your eyelid. Either the curve doesn’t match your eye or you’re starting too close to the skin. Do the fit test, then start a hair further from the root and look down into the mirror.
Lashes look crimped or L-shaped. You’re squeezing once, hard, in one spot. Use lighter pressure and two or three pulses moving outward, and check whether the pad has a groove.
The curl drops within an hour. Usually it’s oil, heavy mascara, or humidity. Start with clean lashes, curl a little longer at the root, and switch to a lighter or waterproof formula.
Outer corners stay straight. Your curler may be wider or flatter than your lash line at the edges. A partial curler fixes this in seconds.
Lashes point sideways or criss-cross. The curler isn’t centred, or the hinge has loosened. Make sure the frame closes evenly; if it doesn’t, it’s time for a new one.
Lashes seem thinner than before. Stop curling for a few weeks and look at your technique. Tugging, curling over mascara and worn pads are the usual suspects. See an eye doctor if you notice redness, swelling or lash loss that doesn’t settle.
Keeping it clean (and when to replace it)
An eyelash curler touches the lash line every day, so a little hygiene goes a long way.
Wipe the frame and pad after each use with a cotton pad and a little micellar water or a gentle alcohol wipe, then let it dry. Mascara build-up on the pad also makes lashes stick and pull.
Don’t share your curler. The American Academy of Ophthalmology advises never sharing eye makeup and discarding eye products after an eye infection; treat your curler with the same care and clean it thoroughly, with a fresh pad, before using it again.
Replace the pad when it shows a groove, crack or flattened spot. Many brands suggest every few months with daily use, and most good curlers come with a spare. Replace the whole tool if the hinge loosens, the frame bends, or the edges feel sharp.
Where to keep it
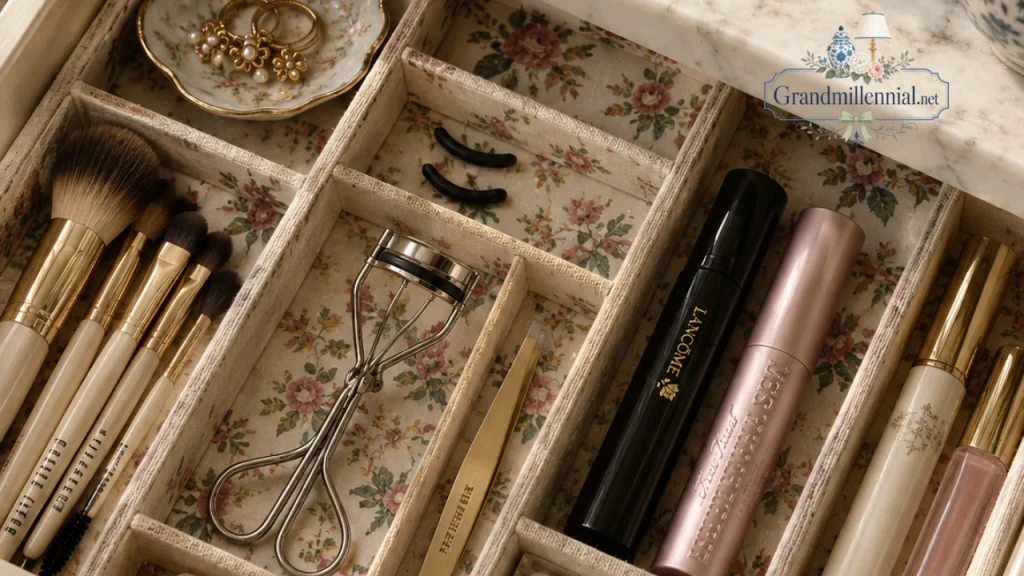
Tossed loose in a makeup bag, a curler collects dust and bends out of alignment. Store it flat in a drawer divider, or upright in a cup with the clamp open.
If your bathroom counter is crowded, it’s worth giving beauty tools a defined home. These bathroom cabinet organization ideas make room for daily essentials without clutter.
Planning a new vanity? A shallow top drawer is ideal for tools like curlers and tweezers. This guide to bathroom vanity depth helps you get the proportions right, and these small bathroom vanity ideas show how to fit storage into a tight space.
For travel, keep the curler in a small hard case or wrap the frame in a soft cloth so it doesn’t bend.
FAQs
Do you curl lashes before or after mascara?
Before. Curling over wet or dried mascara can pull or break lashes. Heated curlers are the exception; use them once mascara is fully dry.
Are lash curlers bad for your lashes?
Not when used gently on clean lashes with a pad in good condition. Damage usually comes from tugging, curling over mascara, or a worn or misaligned tool.
How long should you hold a lash curler?
About five seconds at the root, then a couple of seconds for each pulse toward the tips. More pressure isn’t better; more pulses are.
Which curler is best for hooded eyes?
A slim-profile frame or a partial curler. Both reduce the chance of catching lid skin under the fold.
Can you use a curler with lash extensions?
Generally no. Clamp curlers can stress the bond and the extensions; ask your lash technician about aftercare.
How often should you replace the pad?
Whenever it shows a groove or crack, and often every few months with daily use. Most curlers include a spare pad.
How do I make my curl last all day?
Start with clean lashes, pulse at the root and mid-lash, and use a lightweight, waterproof or tubing mascara.
Try the fit test tomorrow morning before you curl. If your eyelash curler passes, a few gentle pulses will do the rest; if it doesn’t, you’ve just found the reason your lashes never cooperated.